
This DIY face brightening rice flour mask with honey is super simple to make because it only requires two ingredients! One of the best ways to get a bright, glowing complexion is to exfoliate, and rice flour is one of the best exfoliants you can use. Rice flour is very cheap to purchase, and works so much better than store bought cleansers and exfoliants. Let’s check out this DIY face brightening rice flour mask and get on the path to clearer, brighter skin!
DIY Rice Flour Mask
Benefits:
- Rice flour is packed with aminobenzoic acid, ferulic acid, and allantoin. Aminobenzoic acts as an amazing sunscreen, protecting the skin from hamrful UV rays, and increases absorption of vitamin C. Ferulic acid is a natural anti-oxidant as well as an anti-inflammatory.
- The small, gentle granules of the rice flour exfoliates the skin, removing dead skin cells and revealing newer, younger looking and brighter skin.
- Honey evens out skin tone due to its bleaching agent and therefore is a great ingredient for acne scars, dark spots, and skin stains.
- Honey is also a natural antimicrobial and antiseptic ingredient which means it will prevent the formation of blackheads, whiteheads, and pimples.
- Together, these ingredients gently cleanse the face, detoxifies it, reduces enlarged pores, and also prevents acne and blemishes.
You’ll Need:
- 2-3 tsp rice flour or rice powder (they are the same thing!)
- 3 tsp honey
- 1 tsp lemon juice, rose water, or green tea (optional – to brighten and lighten skin)
Directions:
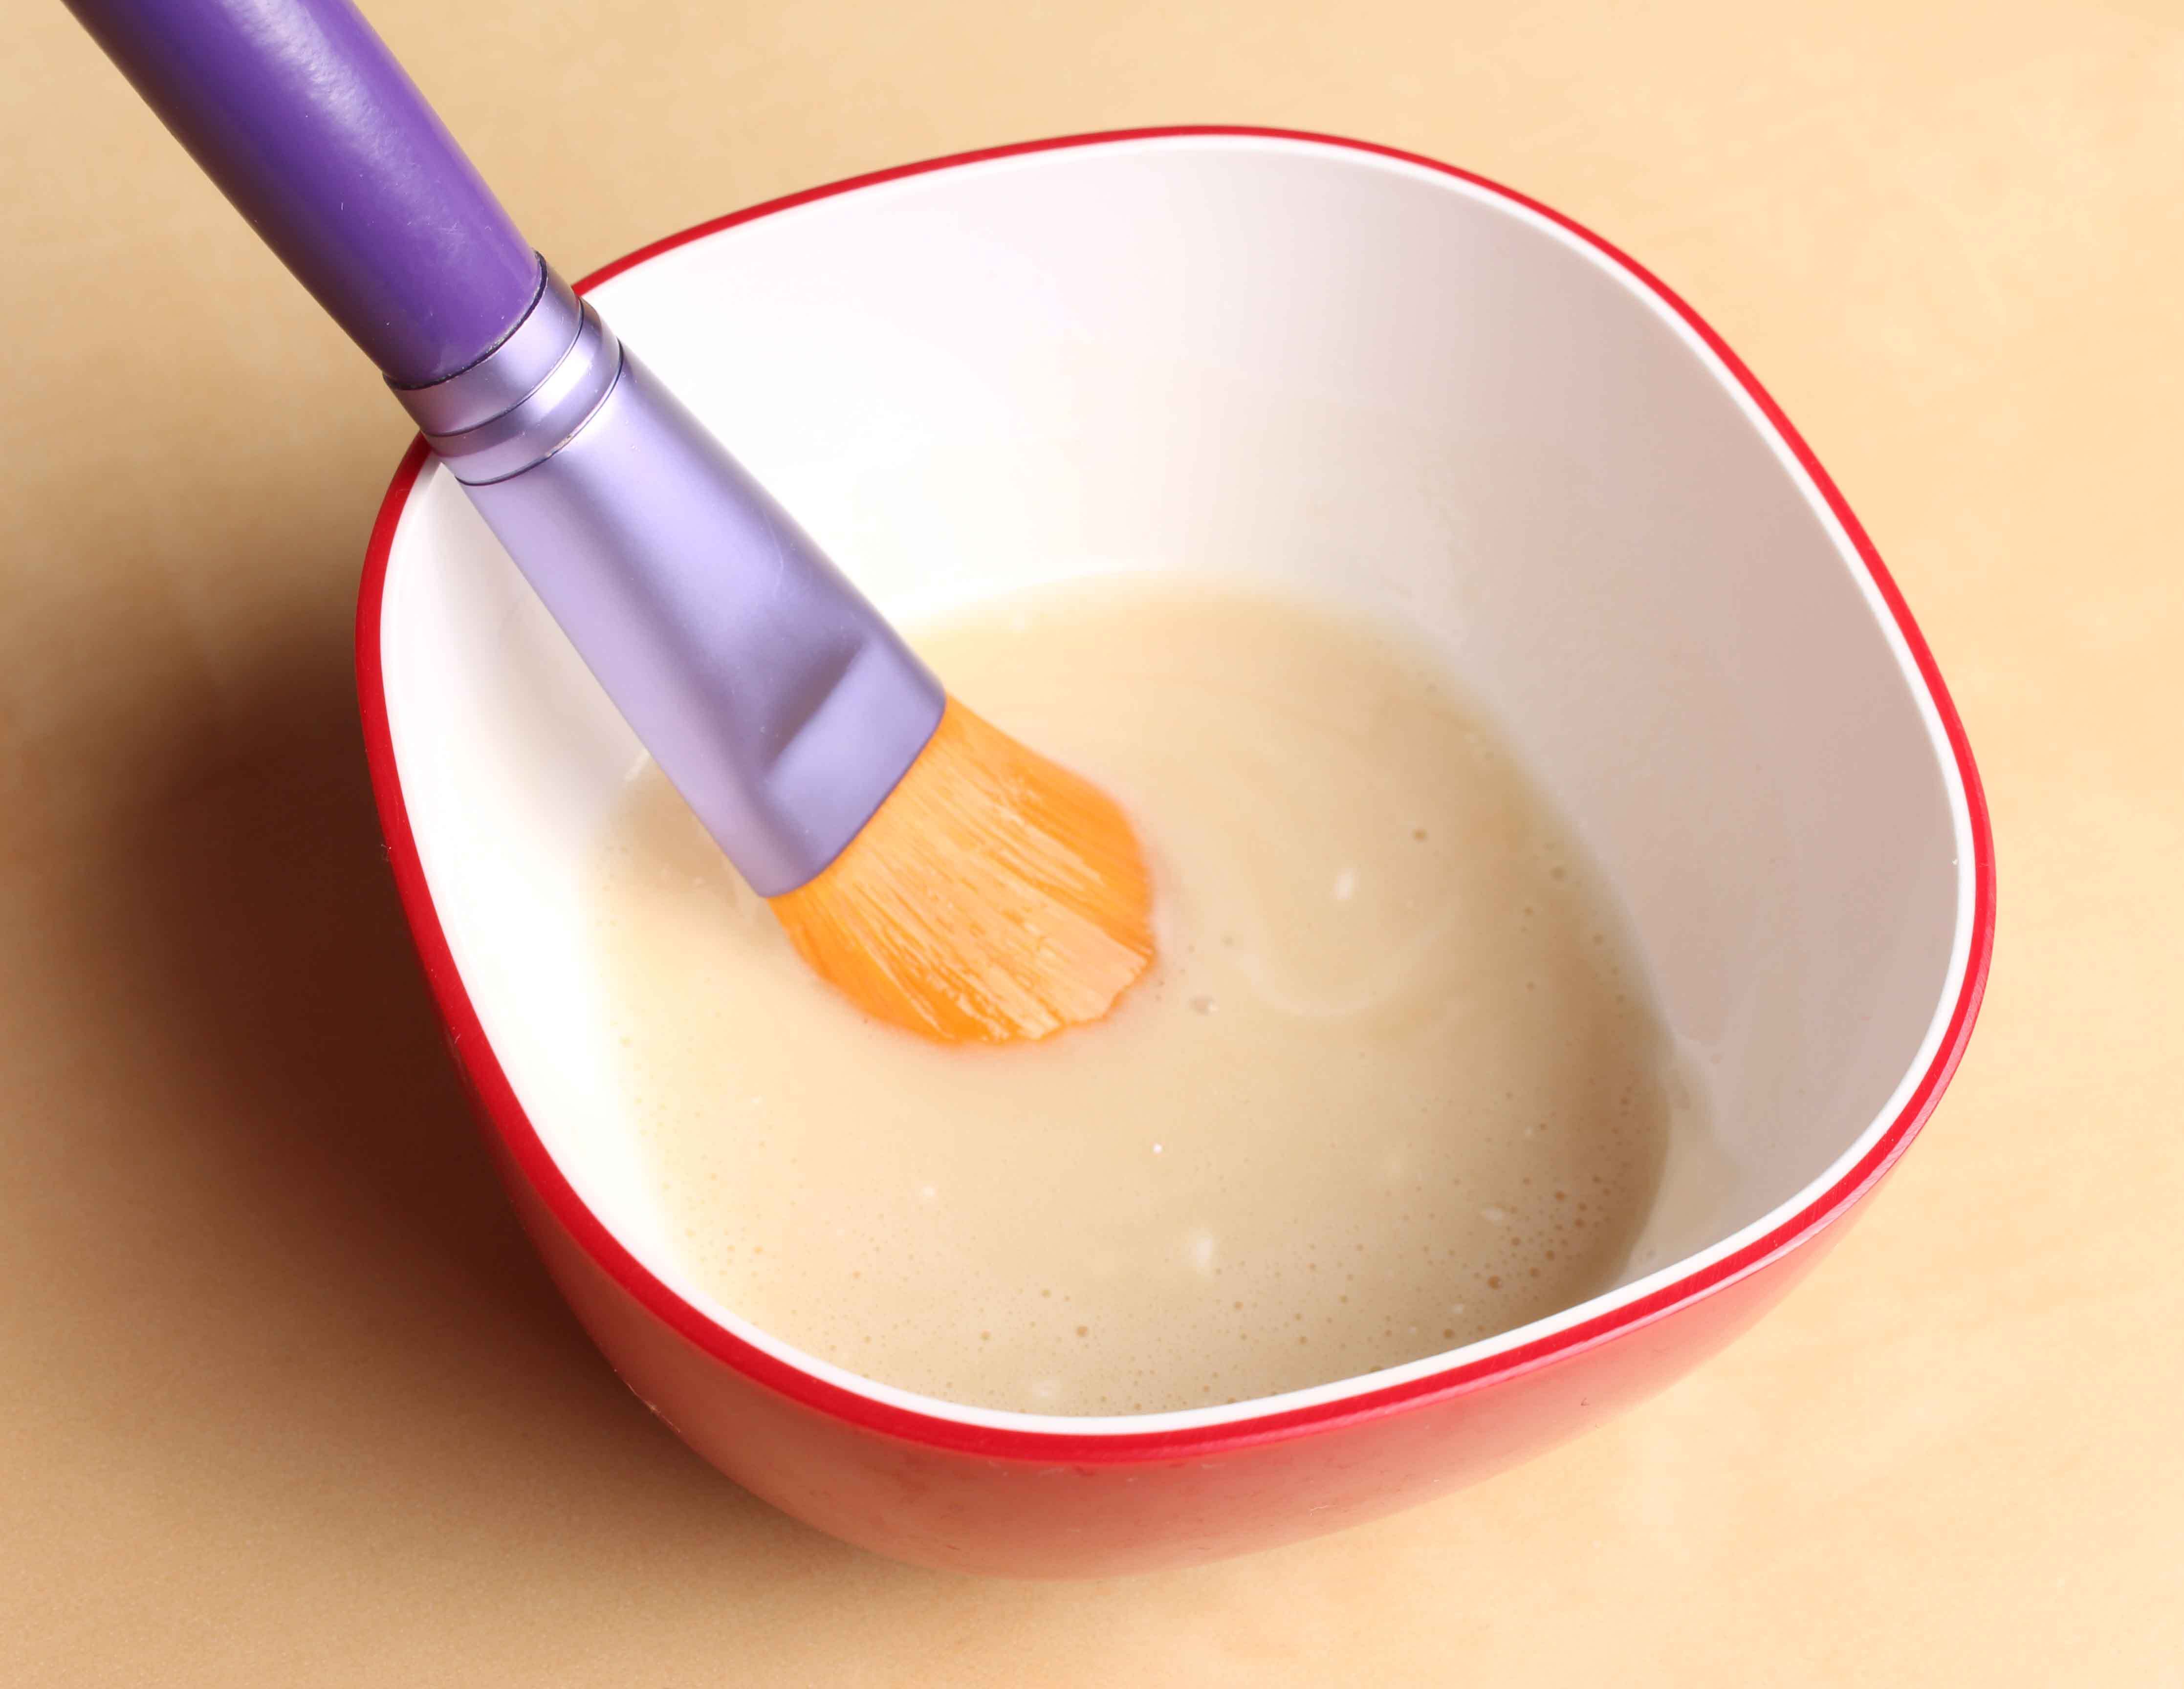
- In a small bowl, mix the rice flour and honey until it reaches a malleable consistency. You can add more honey if the mixture is too hard to work with.
- Apply the mask over a cleansed face and and leave on for 15 minutes.
- After 15 minutes, start massaging the mask into the skin in slow, circular motions. Be sure to be gentle around sensitive areas such as around the eyes.
- Remove mask with a wet washcloth that’s been dipped in warm water and then rinse off with cold water.
- Follow up with a soft toner, such as rosewater or rice water and then a light moisturizer.
Use the DIY face brightening mask at least twice a week to gently exfoliate, get rid of acne and blemishes, and reveal clear, bright, glowing skin.
How to Make Rice Water:
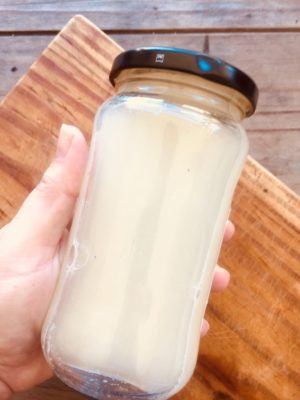
After you’ve removed the rice flour mask, it’s always best to follow up with a toner such as a rice water toner or a rose water toner. For this particular mask though, we highly recommend you use a rice water toner. It’s super easy to make and will leave skin glowing. Rice water is also naturally anti aging, helps get rid of breakouts and acne scars, and also reduces the excess production of sebum (oil).
You’ll Need:
- 1/2 cup white rice
- water
Directions:
- In a colander, rinse your rice to remove any dirt or debris.
- Then, place your rinsed rice into a pot and cover with water.
- Let the rice sit in the water for about 15 minutes. During this time, all the vitamins and minerals from the rice will seep into the water.
- After the 15 minutes have elapsed, drain the rice, catching all the water into a bowl or jar. Save your rice for cooking!
Using Rice Water as a Toner:
Use after every mask application, in the morning after cleansing, and at night after cleansing. Apply a small amount to a cotton pad and swipe across the skin. A rice water toner will help tighten skin, shrink pores, brighten skin, and prevent breakouts. Also helps minimize the appearance of wrinkles, fine lines, and crows feet when used on a regular basis.
This is one of our favorite face packs because it’s so easy to use and only requires 2-3 ingredients! Use it on a regular basis to get clear, smooth, and glowing skin!
If you like this post, don’t forget to share 🙂
